
Autumn Aesthetics: 8 Fall Presets You’ll Obsess Over

Written by Kathleen Bratton & Meredith Tabor, Photography by Jennifer Han, Cover photos via Unsplash
The fall season has so many fun memories to make and capture—from game days at Kyle Field to pumpkin patch pictures—our phones get overloaded with photos. With all the events fall entails, it is the time of year when our Instagram and VSCO feeds start to shift to those aesthetically pleasing, cooler autumn tones.
Trying to find the right settings to switch from warm tones to cool tones for pictures is not a simple task. When getting inspiration for the fall preset season, many of us have turned to Tik Tok for easy how-to tutorials. In a Tik Tok by @carolineemurray, she mentions an app called “Preseters”: a *free* app with free presets for Adobe Lightroom. The Lightroom mobile app is free as well, and user-friendly, so you can smoothly create all of your fall aesthetics.
These are our 8 favorite presets on Preseters that are great for all types of fall pictures:
Autumn in America:

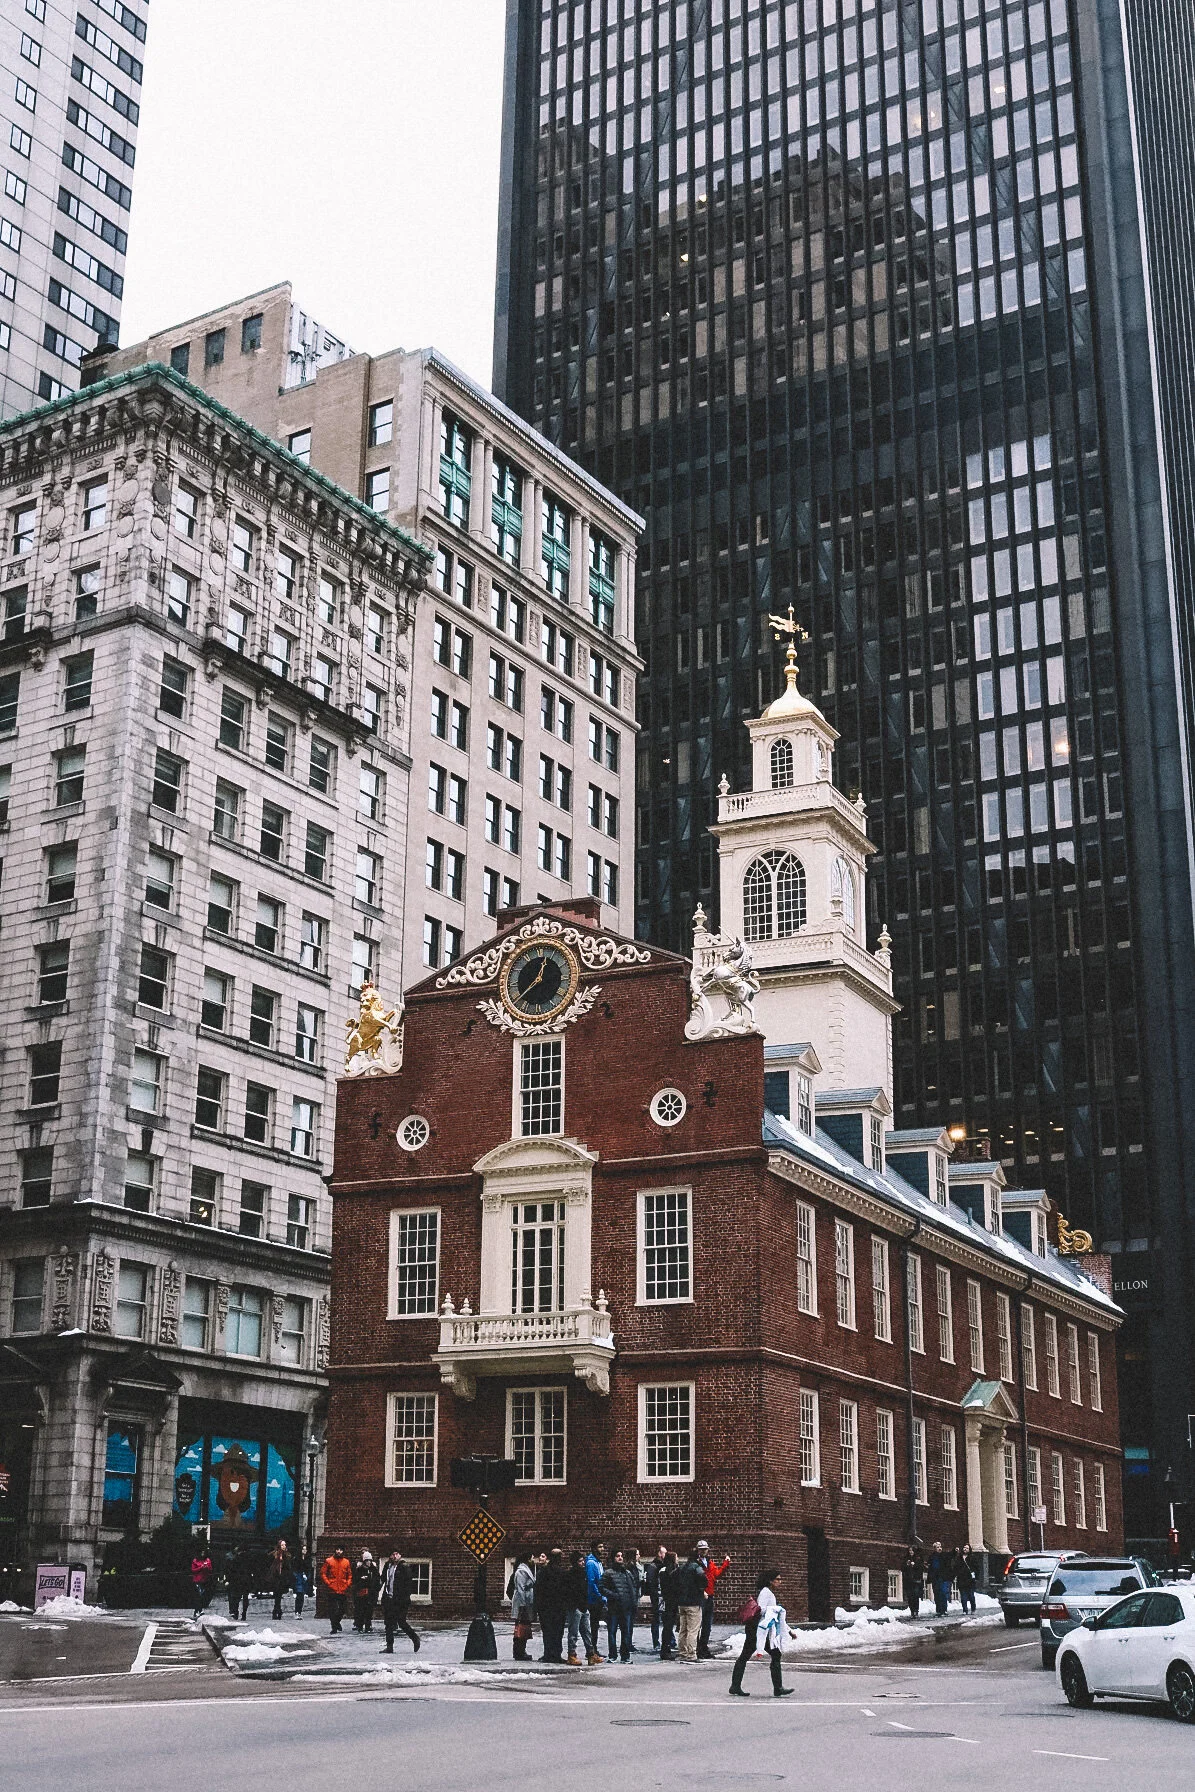


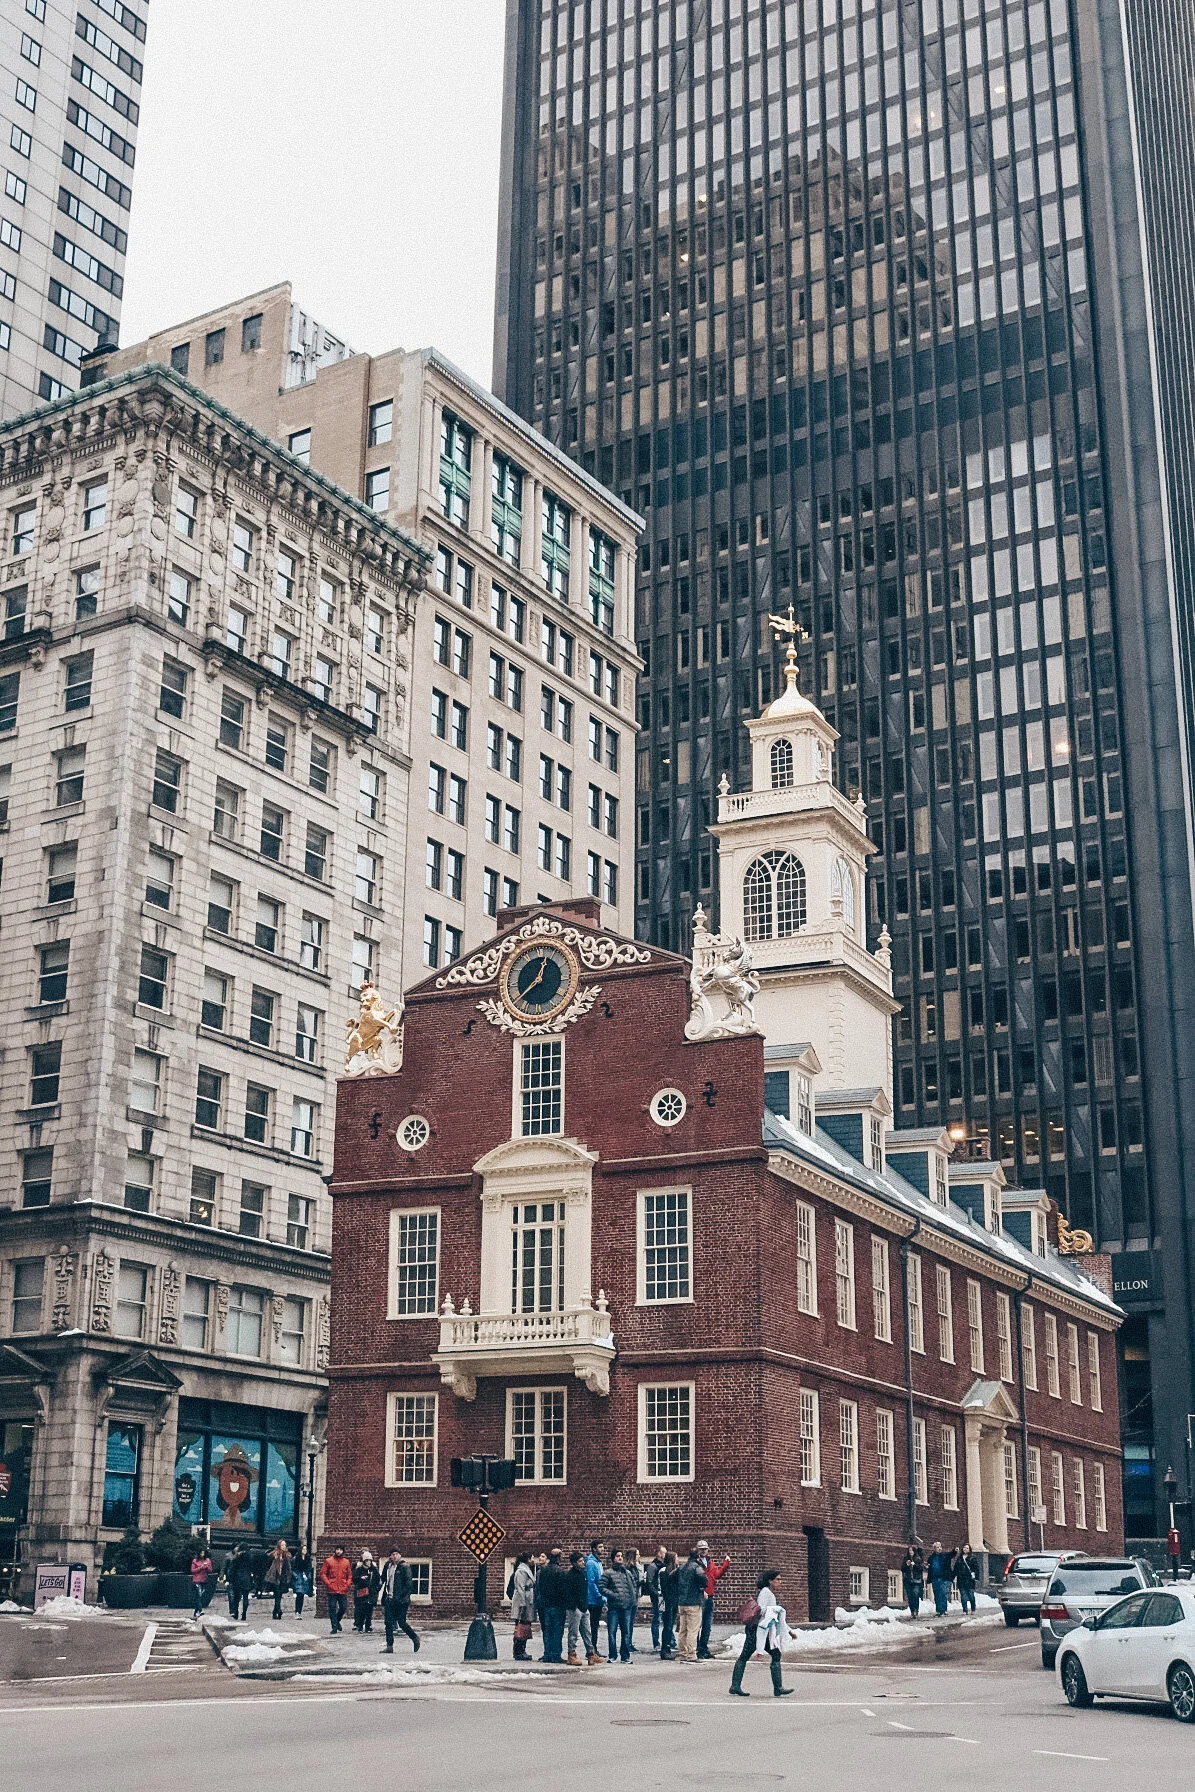


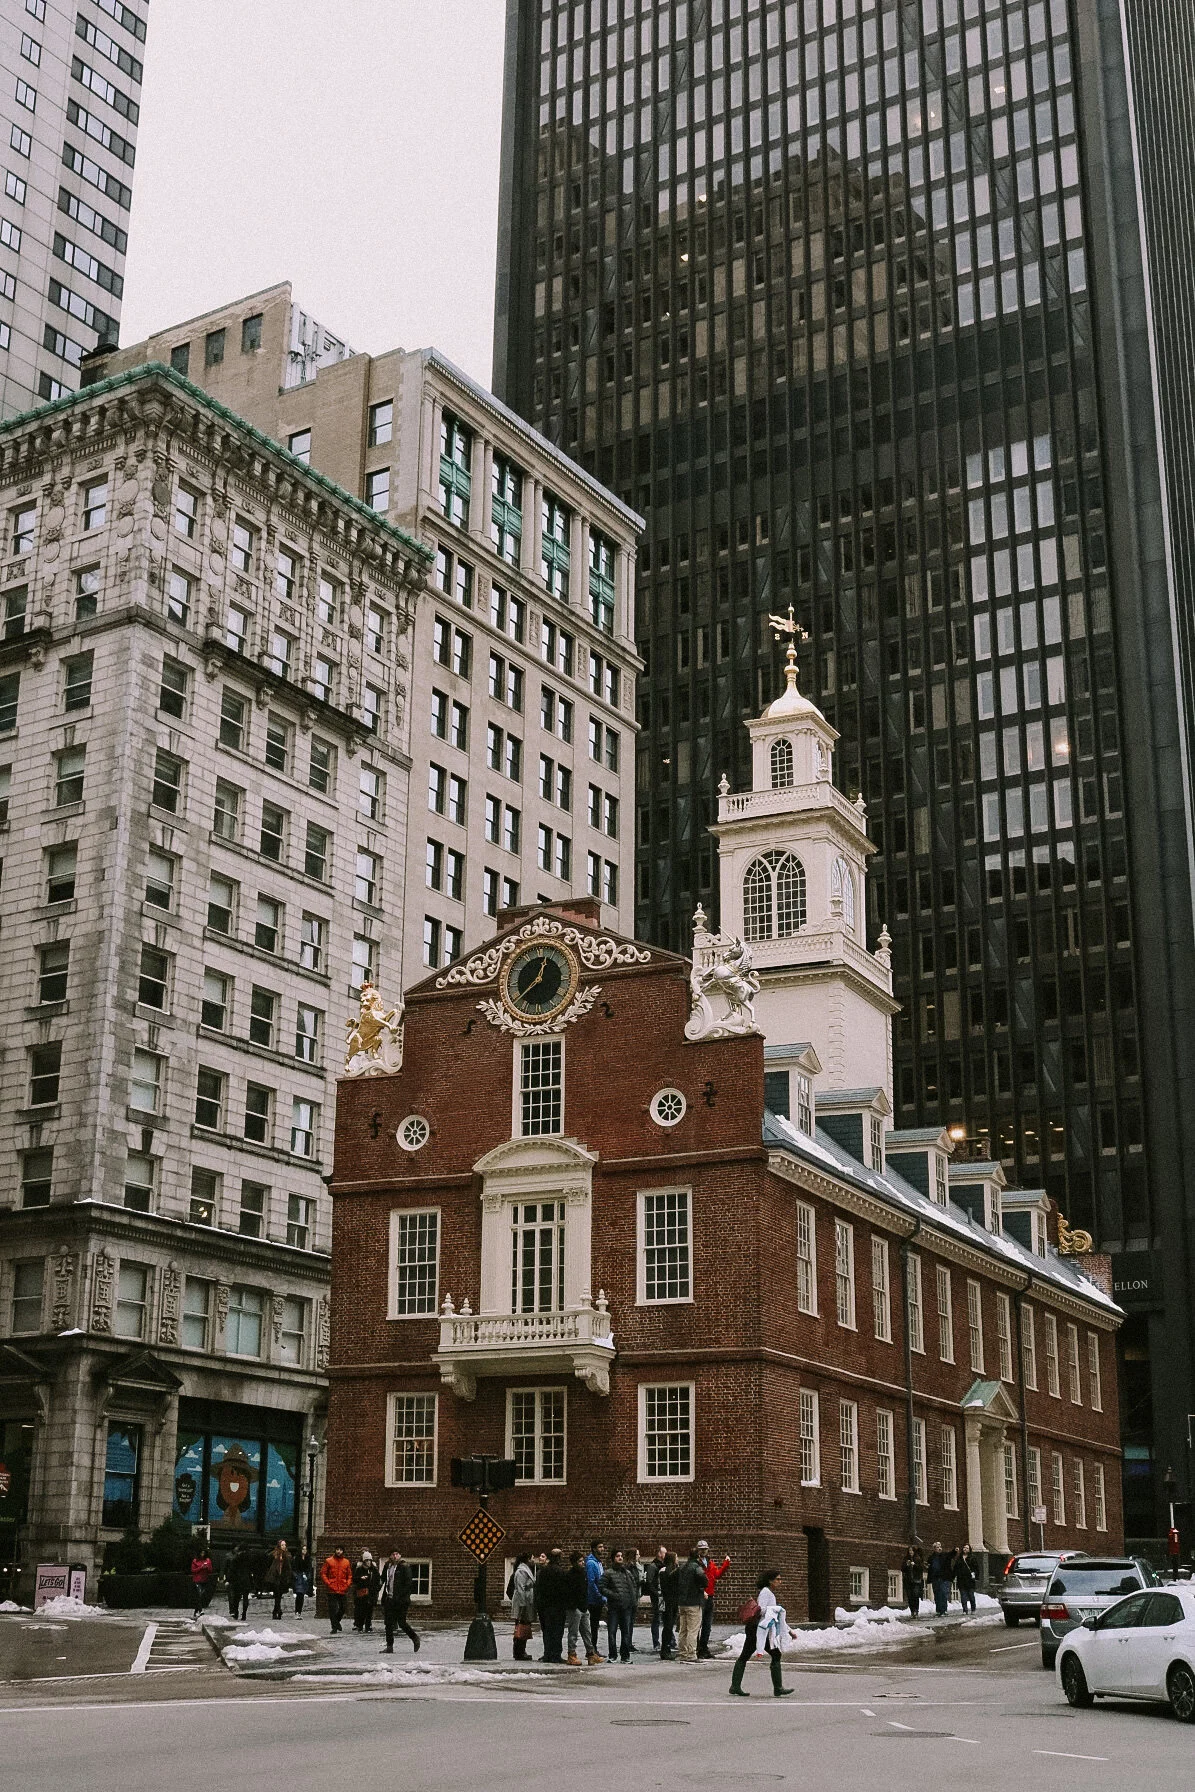


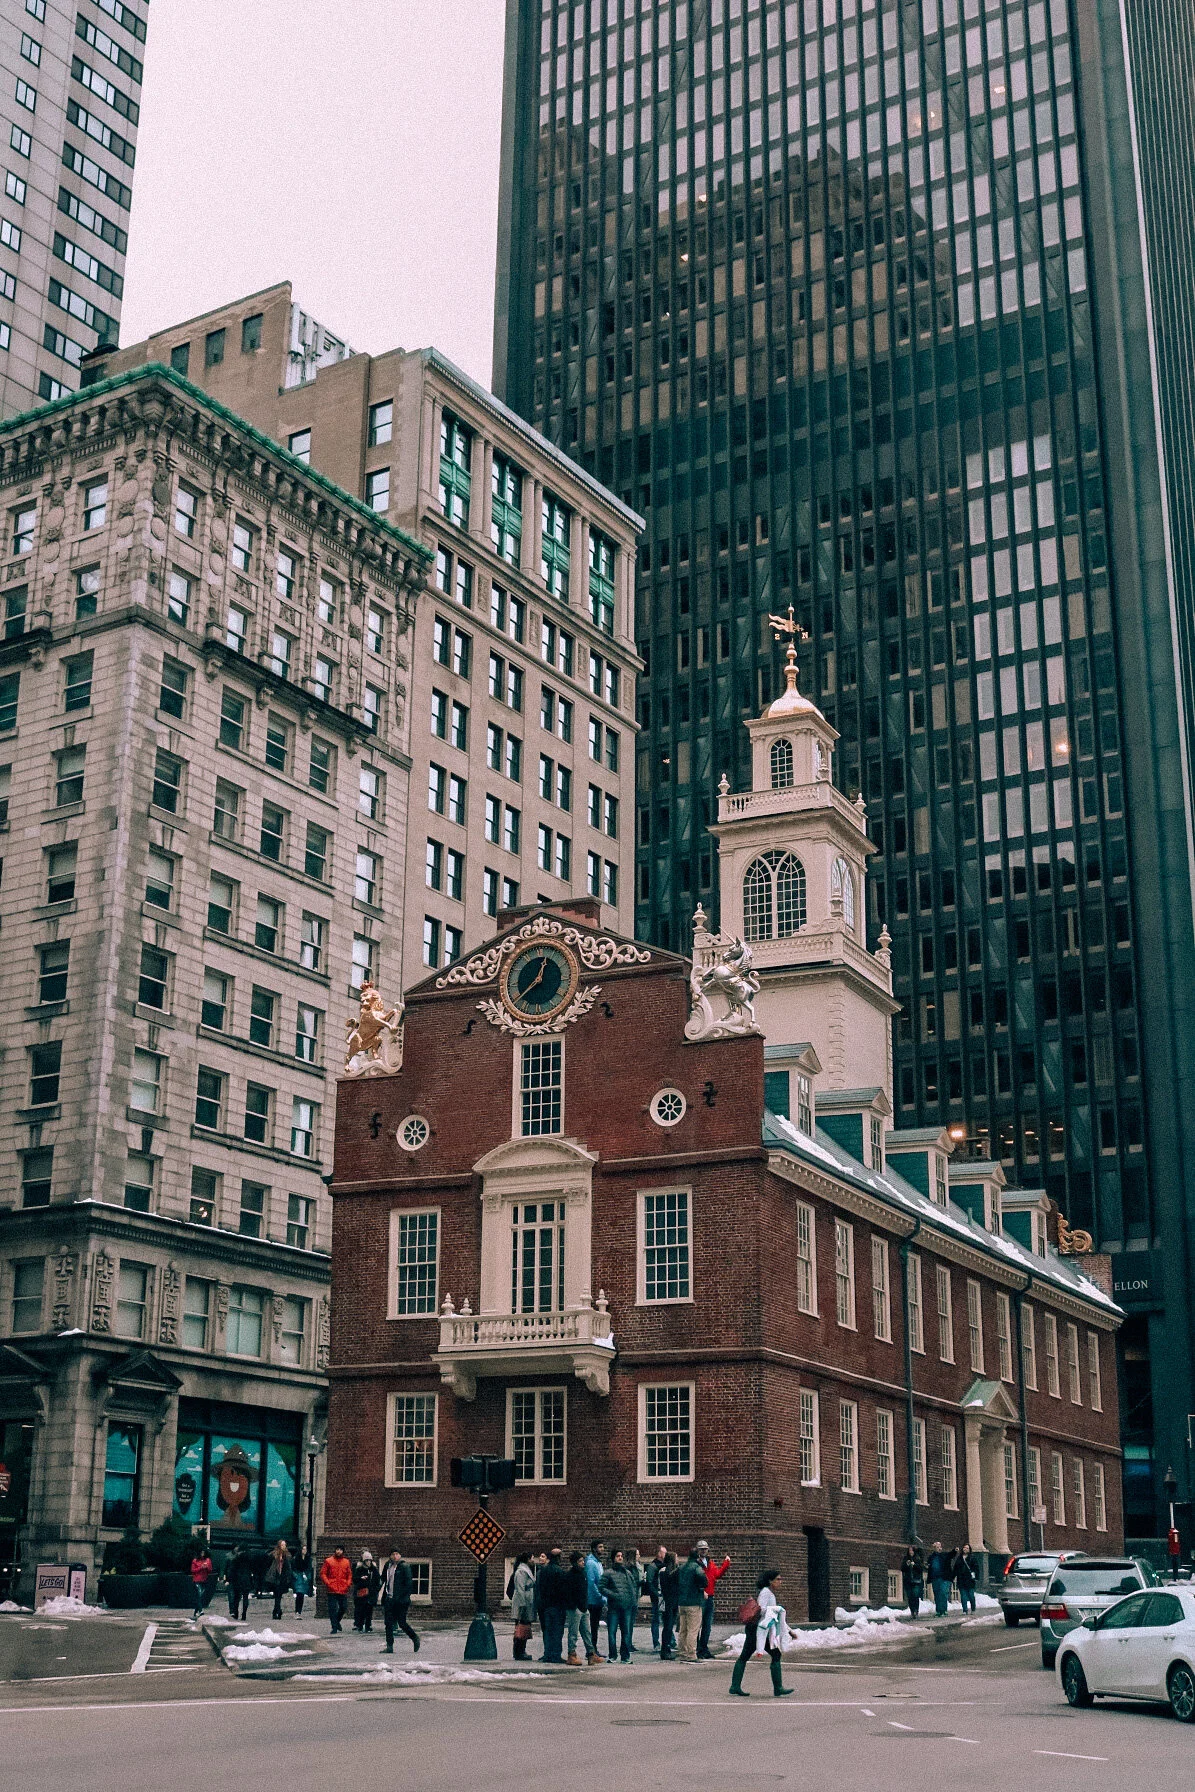

Some of these presets can be a bit strong, so changing a couple of little things can be helpful. Going in and tweaking specifics like exposure, contrasts, and vignette will help you get your picture exactly how you want it.
While you do need to make an account in Lightroom (you can sign in using your Adobe, Apple, Google, or Facebook accounts), you do not have to do so for Preseters.


Once you have signed in to Lightroom, find a preset you like from the catalog or search bar in the Preseters app. Click the gold “Download Preset” button that shows up when you tap on your preset. You can also click the link attached to each of the presets above to download them.


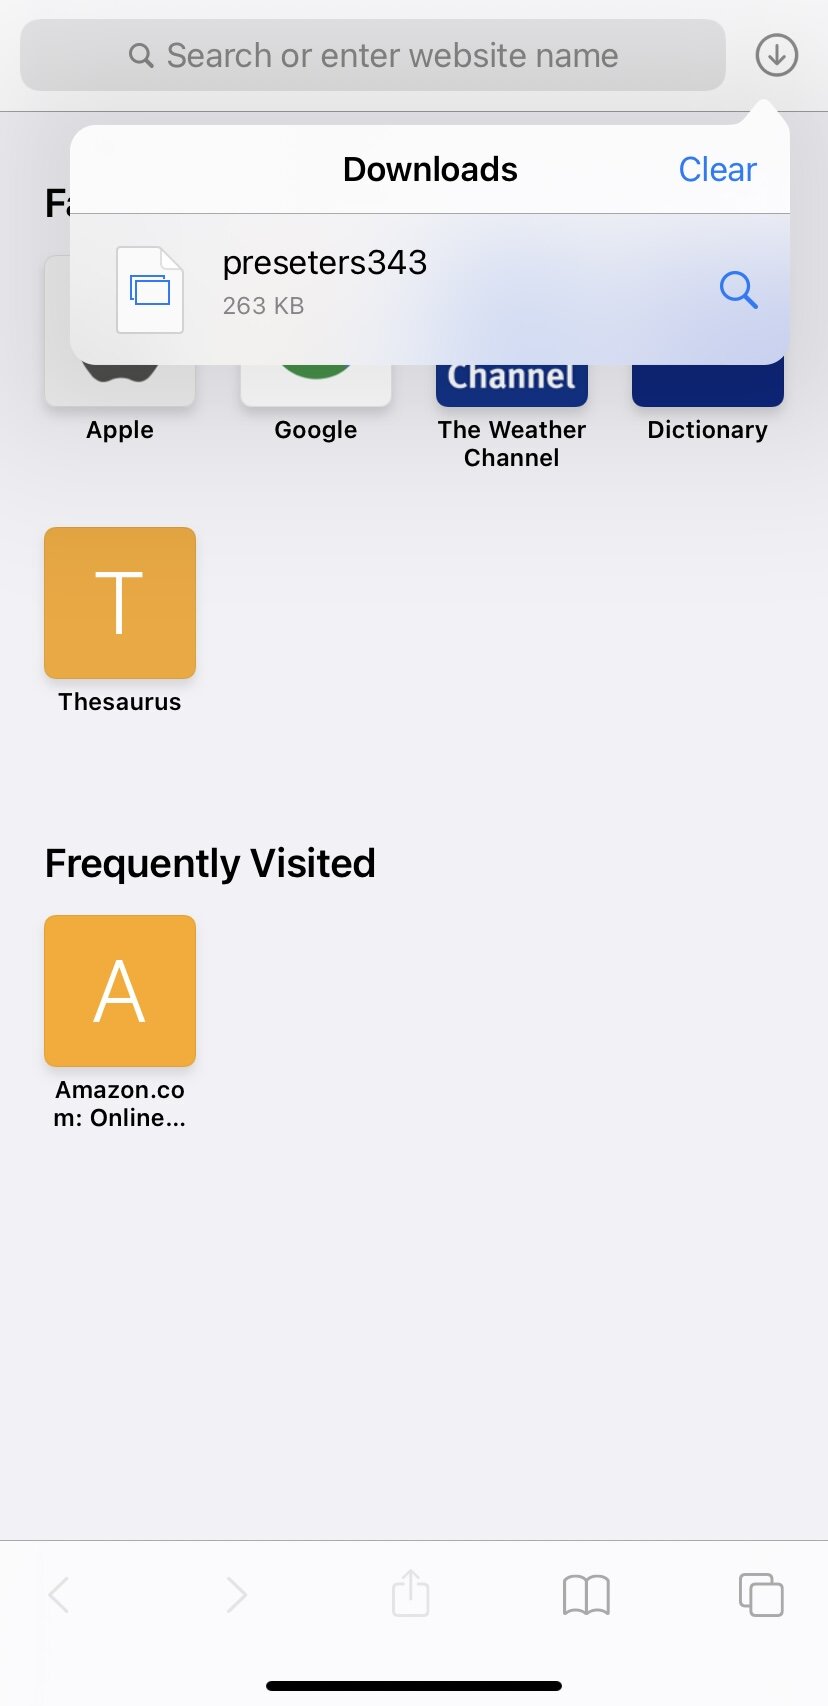
Your internet browser will open, and when prompted, click the blue download button. You will be able to find your download in the upper right hand corner of your browser.


Head back to Lightroom and click the picture icon in the bottom right corner and select “From Files.” Your most recent download will be the one on the top left side. Select it and it will open in the workspace.


To name your preset, click the three dots in the upper right corner and then click on “Create Preset.” You will be able to name your preset, and tapping on the check mark in the upper right corner will save it to your user presets.


After you have created your preset, choose a picture to import into Lightroom and swipe across the settings on the bottom to get to “Presets” on the far right corner. Your new preset will be under “User Presets”. Once you click it, it will be applied to your picture.


The final step is to press the check mark, and now you have a perfectly edited, aesthetically pleasing picture!
